Introduction to Requests
In programming, making a request is similar to asking a person for something in everyday life.
In Wized, we use requests to talk to different apps or servers. To be more precise, we use requests to request and exchange data with a server.
That server can be our custom backend built with Xano, Firebase, Supabase, etc. or a public-facing API, such as the PokeAPI for fetching Pokemons.
There are two main ways of handling requests: one is via built-in integrations, and the other is via REST requests.
Built-in integrations

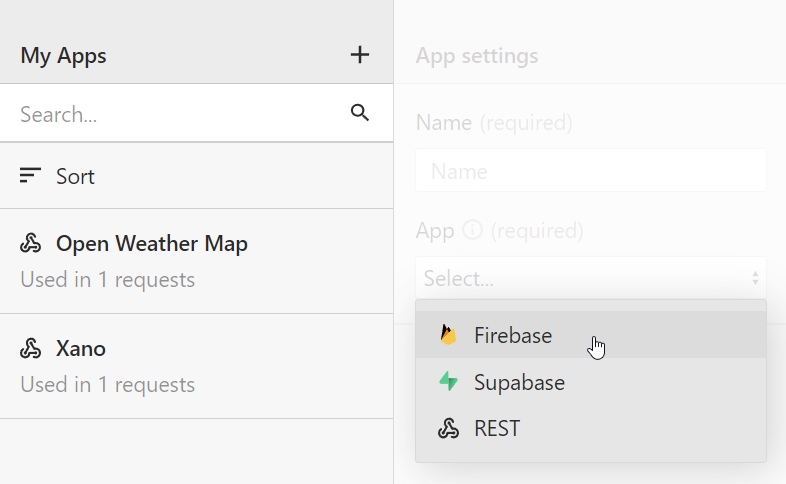
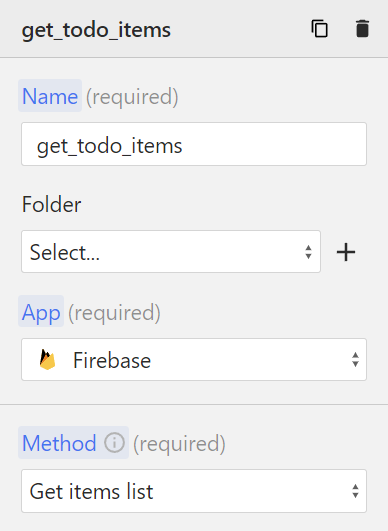
For backends like Firebase or Supabase, Wized has built-in integrations.
Just add the app to 'My Apps' in Wized, and you're ready to start making requests.

For more information, check out:
REST Requests

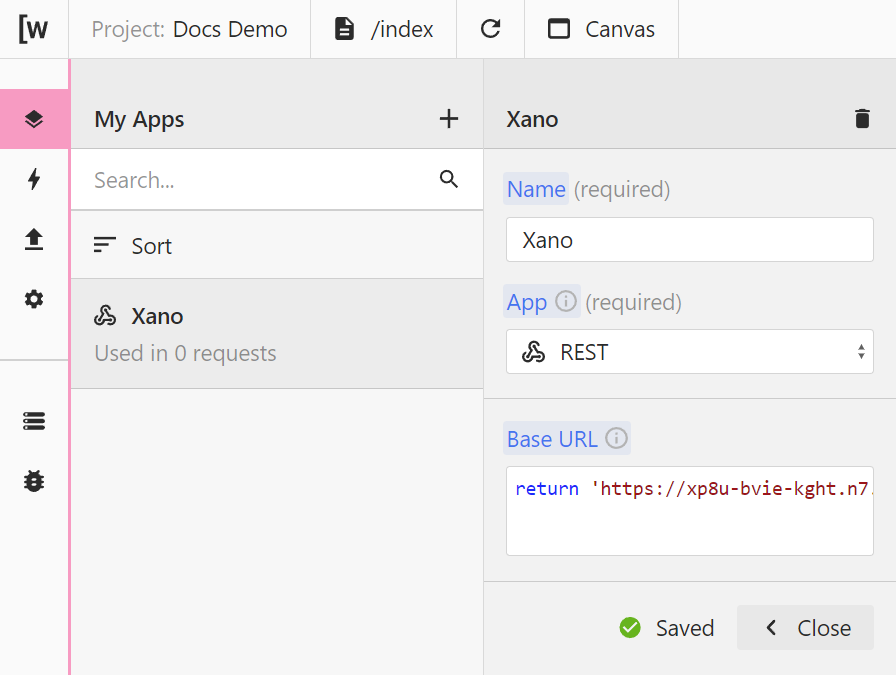
The REST app enables you to make REST (Representational State Transfer) requests to external servers or services.
If your app is not listed in the My Apps panel, chances are that you can still connect with it via REST API. Most servers out there don't require a client-side library, and you can use REST or GraphQL requests to exchange data.
For more info, check out our article on REST requests.
Naming Requests in Wized
When you create requests in Wized, remember these simple tips for naming them:
Use JavaScript-Friendly Names: Stick to names that work well in JavaScript. Avoid fancy or unusual characters and emojis.
Automatic Conversions: Wized turns all special characters and spaces into underscores (
_). So, if you typeMy Request, it becomesMy_Request.Choose Your Style:
- Snake Case: Like
my_request. It's our recommended style. - Camel Case: You can go for
myRequestif you like it better. - Pascal Case:
MyRequestworks too.
- Snake Case: Like
Consistency is Key: Whatever style you pick, use it throughout your project. It keeps things neat and easy to understand.
Simple and consistent names make your project cleaner and easier to work with!
Debugging API Requests
When you start working with APIs, you may run into errors. It's completely normal. Even the most skilled developers spend a considerable amount of time debugging their applications.
Remember, making mistakes and encountering errors is a part of learning. With time, you'll get better, and better at debugging.
That being said, we have some tips to help you find bugs quicker.
Tips for Troubleshooting
- API Restrictions: The API you're using may not allow requests made directly from the client-side. If you see a CORS error in your console, chances are that the API is meant
- Authorization Issues: If you're attempting to access or modify data that's secured on your backend, ensure you're logged in as a user with the necessary permissions.
- Data Format Mismatch: When sending data to the API, check if the format matches what the API expects. For instance, sending a string when the API expects a number can cause issues.