Elements Panel
The Elements Panel, located on the left-hand side of the Wized configurator, is your visual guide to navigate and manage all the elements that have the “wized” attribute on your website. Here, you'll find a clear, organized representation of your page elements, allowing you to add functionality and logic quickly and easily. 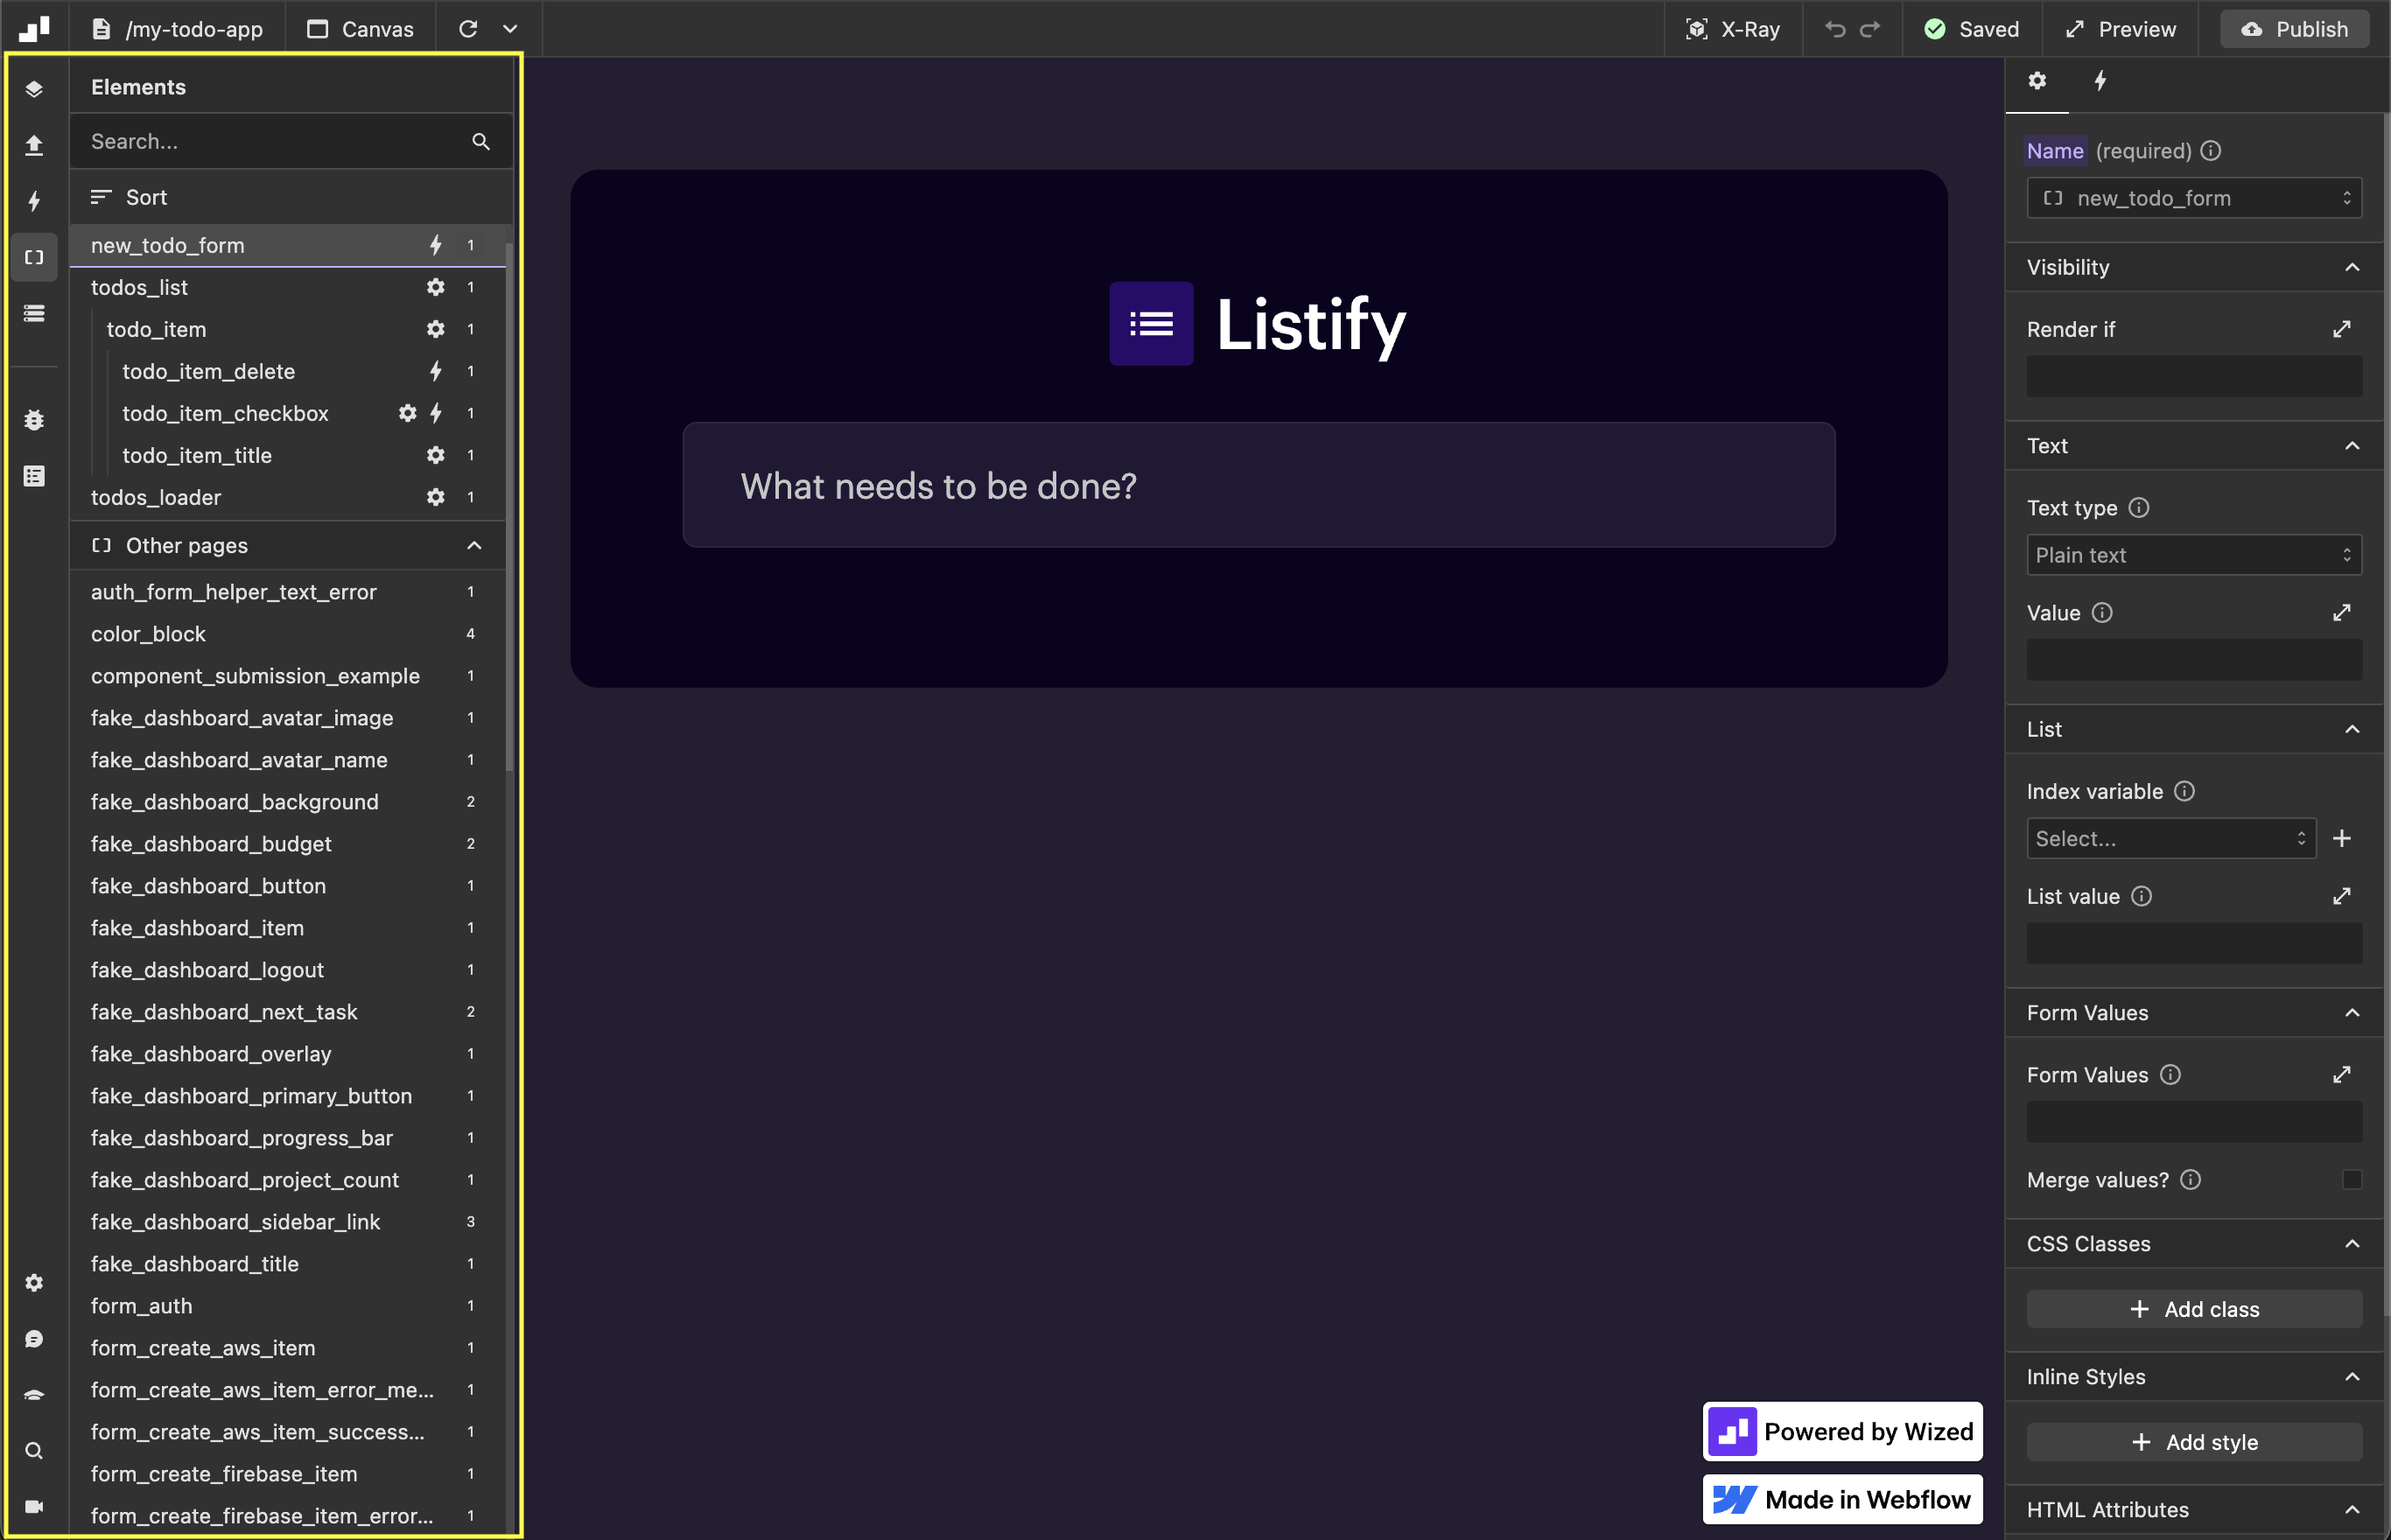
What will you find here?
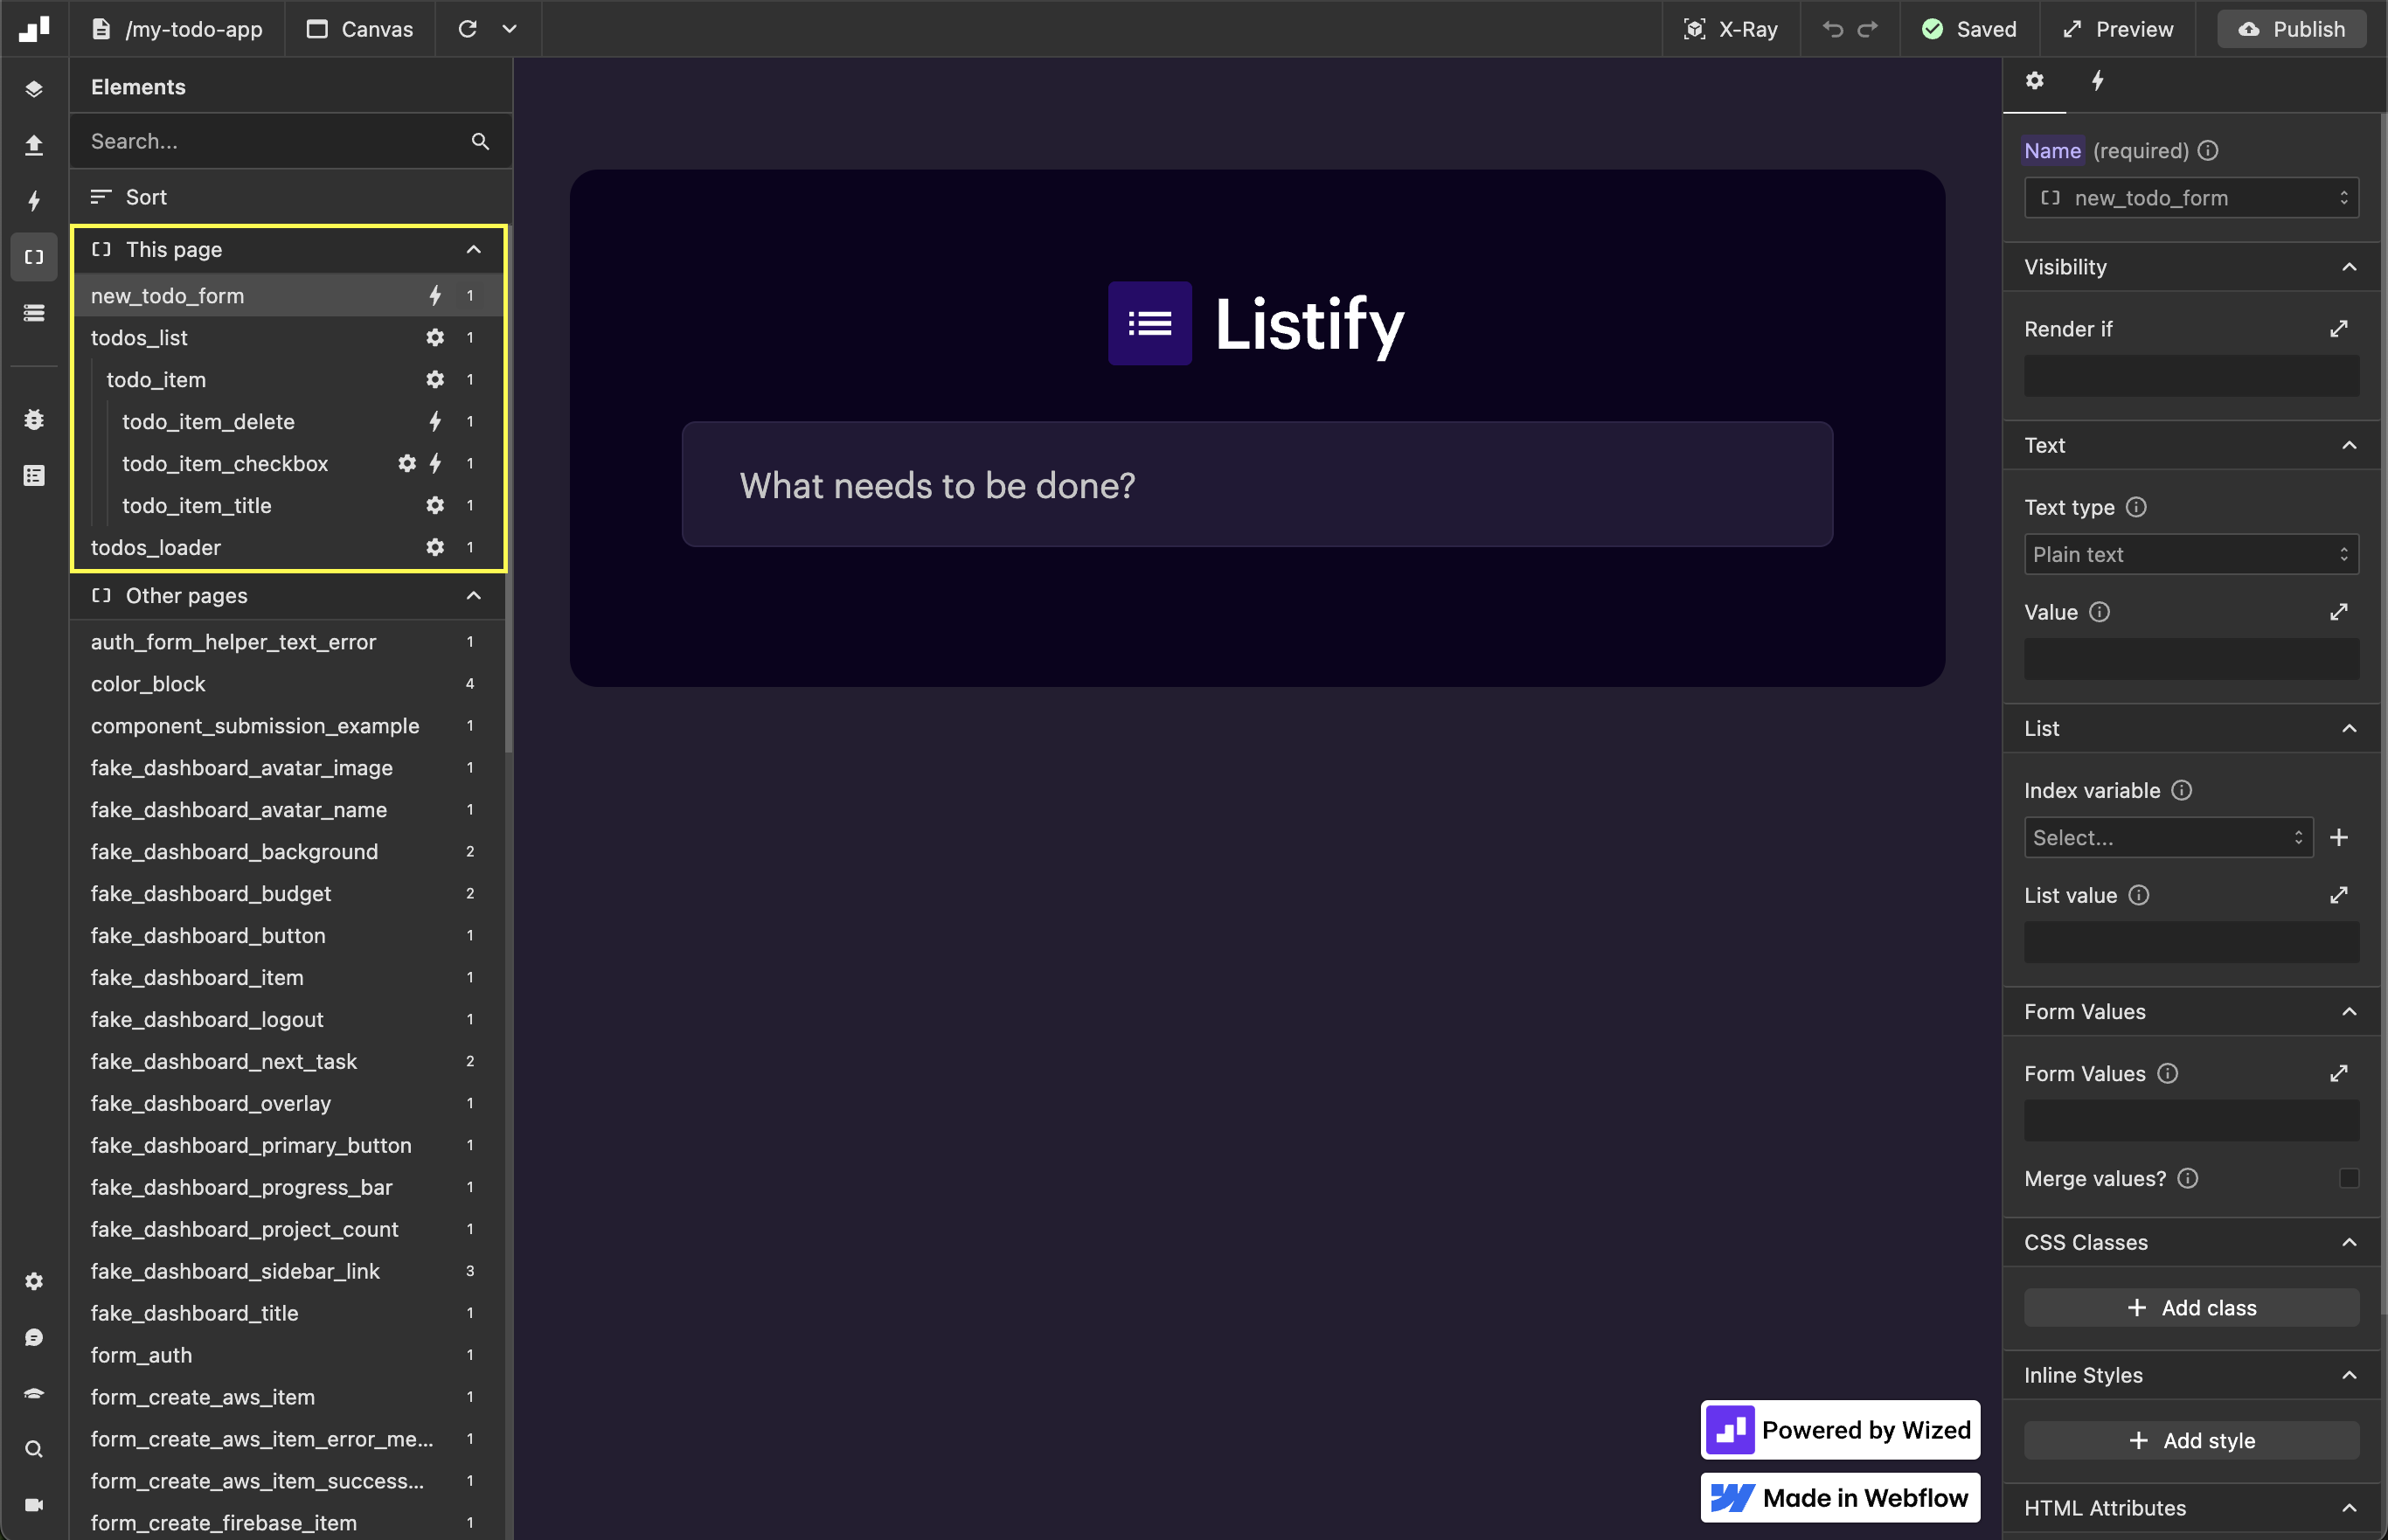
Elements on page: A complete listing of all elements on the current page that have the wized attribute. These are the elements that Wized recognizes and that you can interact with to add actions, events, and custom settings.
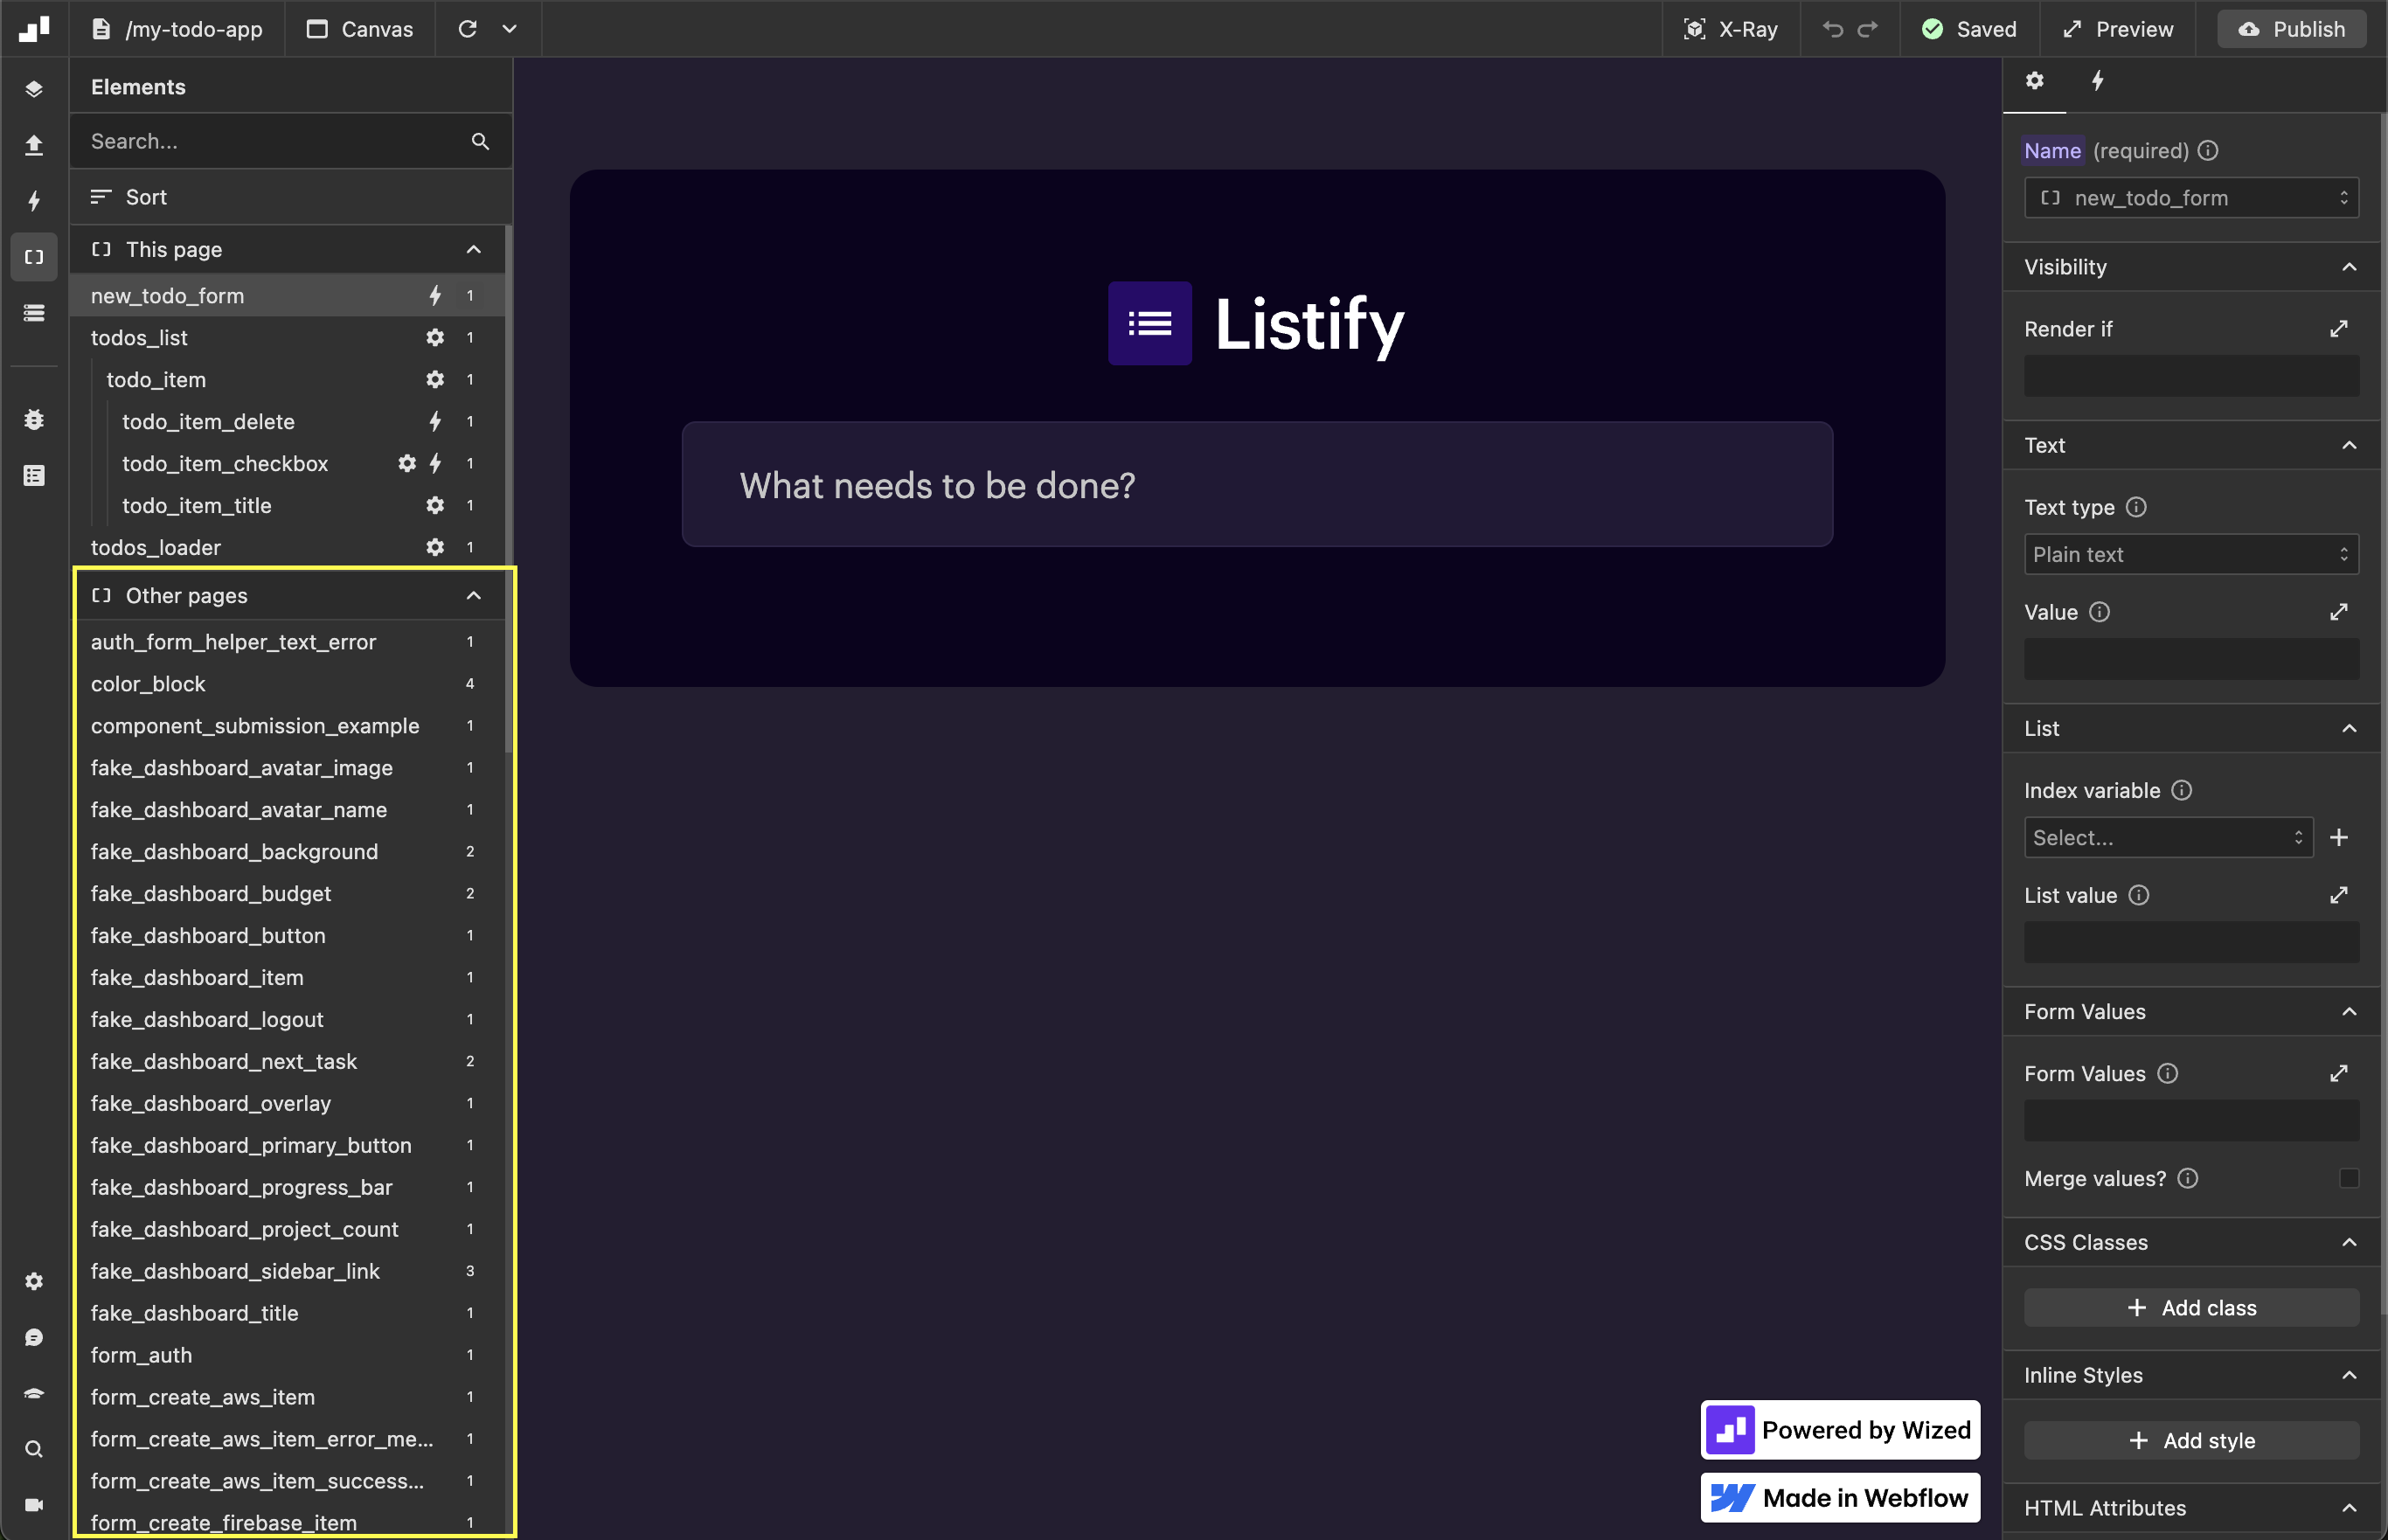
Elements in the rest of the project: A listing of all elements with the wized attribute present on other pages in your Webflow project. This allows you to access and configure elements across your entire site from one place.
How is information organized?
Elements are presented in a tree-like hierarchical structure, mirroring the HTML organization of your website. You'll be able to clearly see the relationship between parent and child elements, making it easier to navigate and understand the structure of your page. 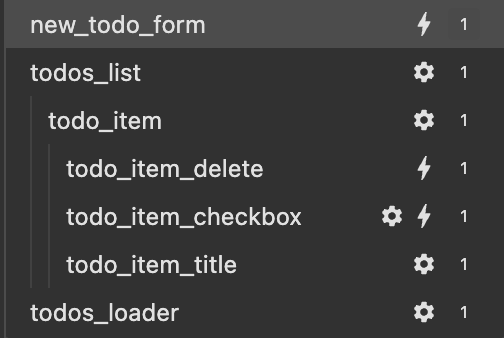
How to manage elements?
Simply click on any item in the listing to open its Item Settings Panel on the right side of the screen. From there, you can add and customize actions, events, and settings for that specific item.
Elements Configuration Panel
The Elements Settings Panel is your control center for adding interactivity and custom logic to elements on your website. It opens automatically when you select an element in the Elements Panel and appears on the right side of the screen, giving you access to a variety of settings and events you can apply.
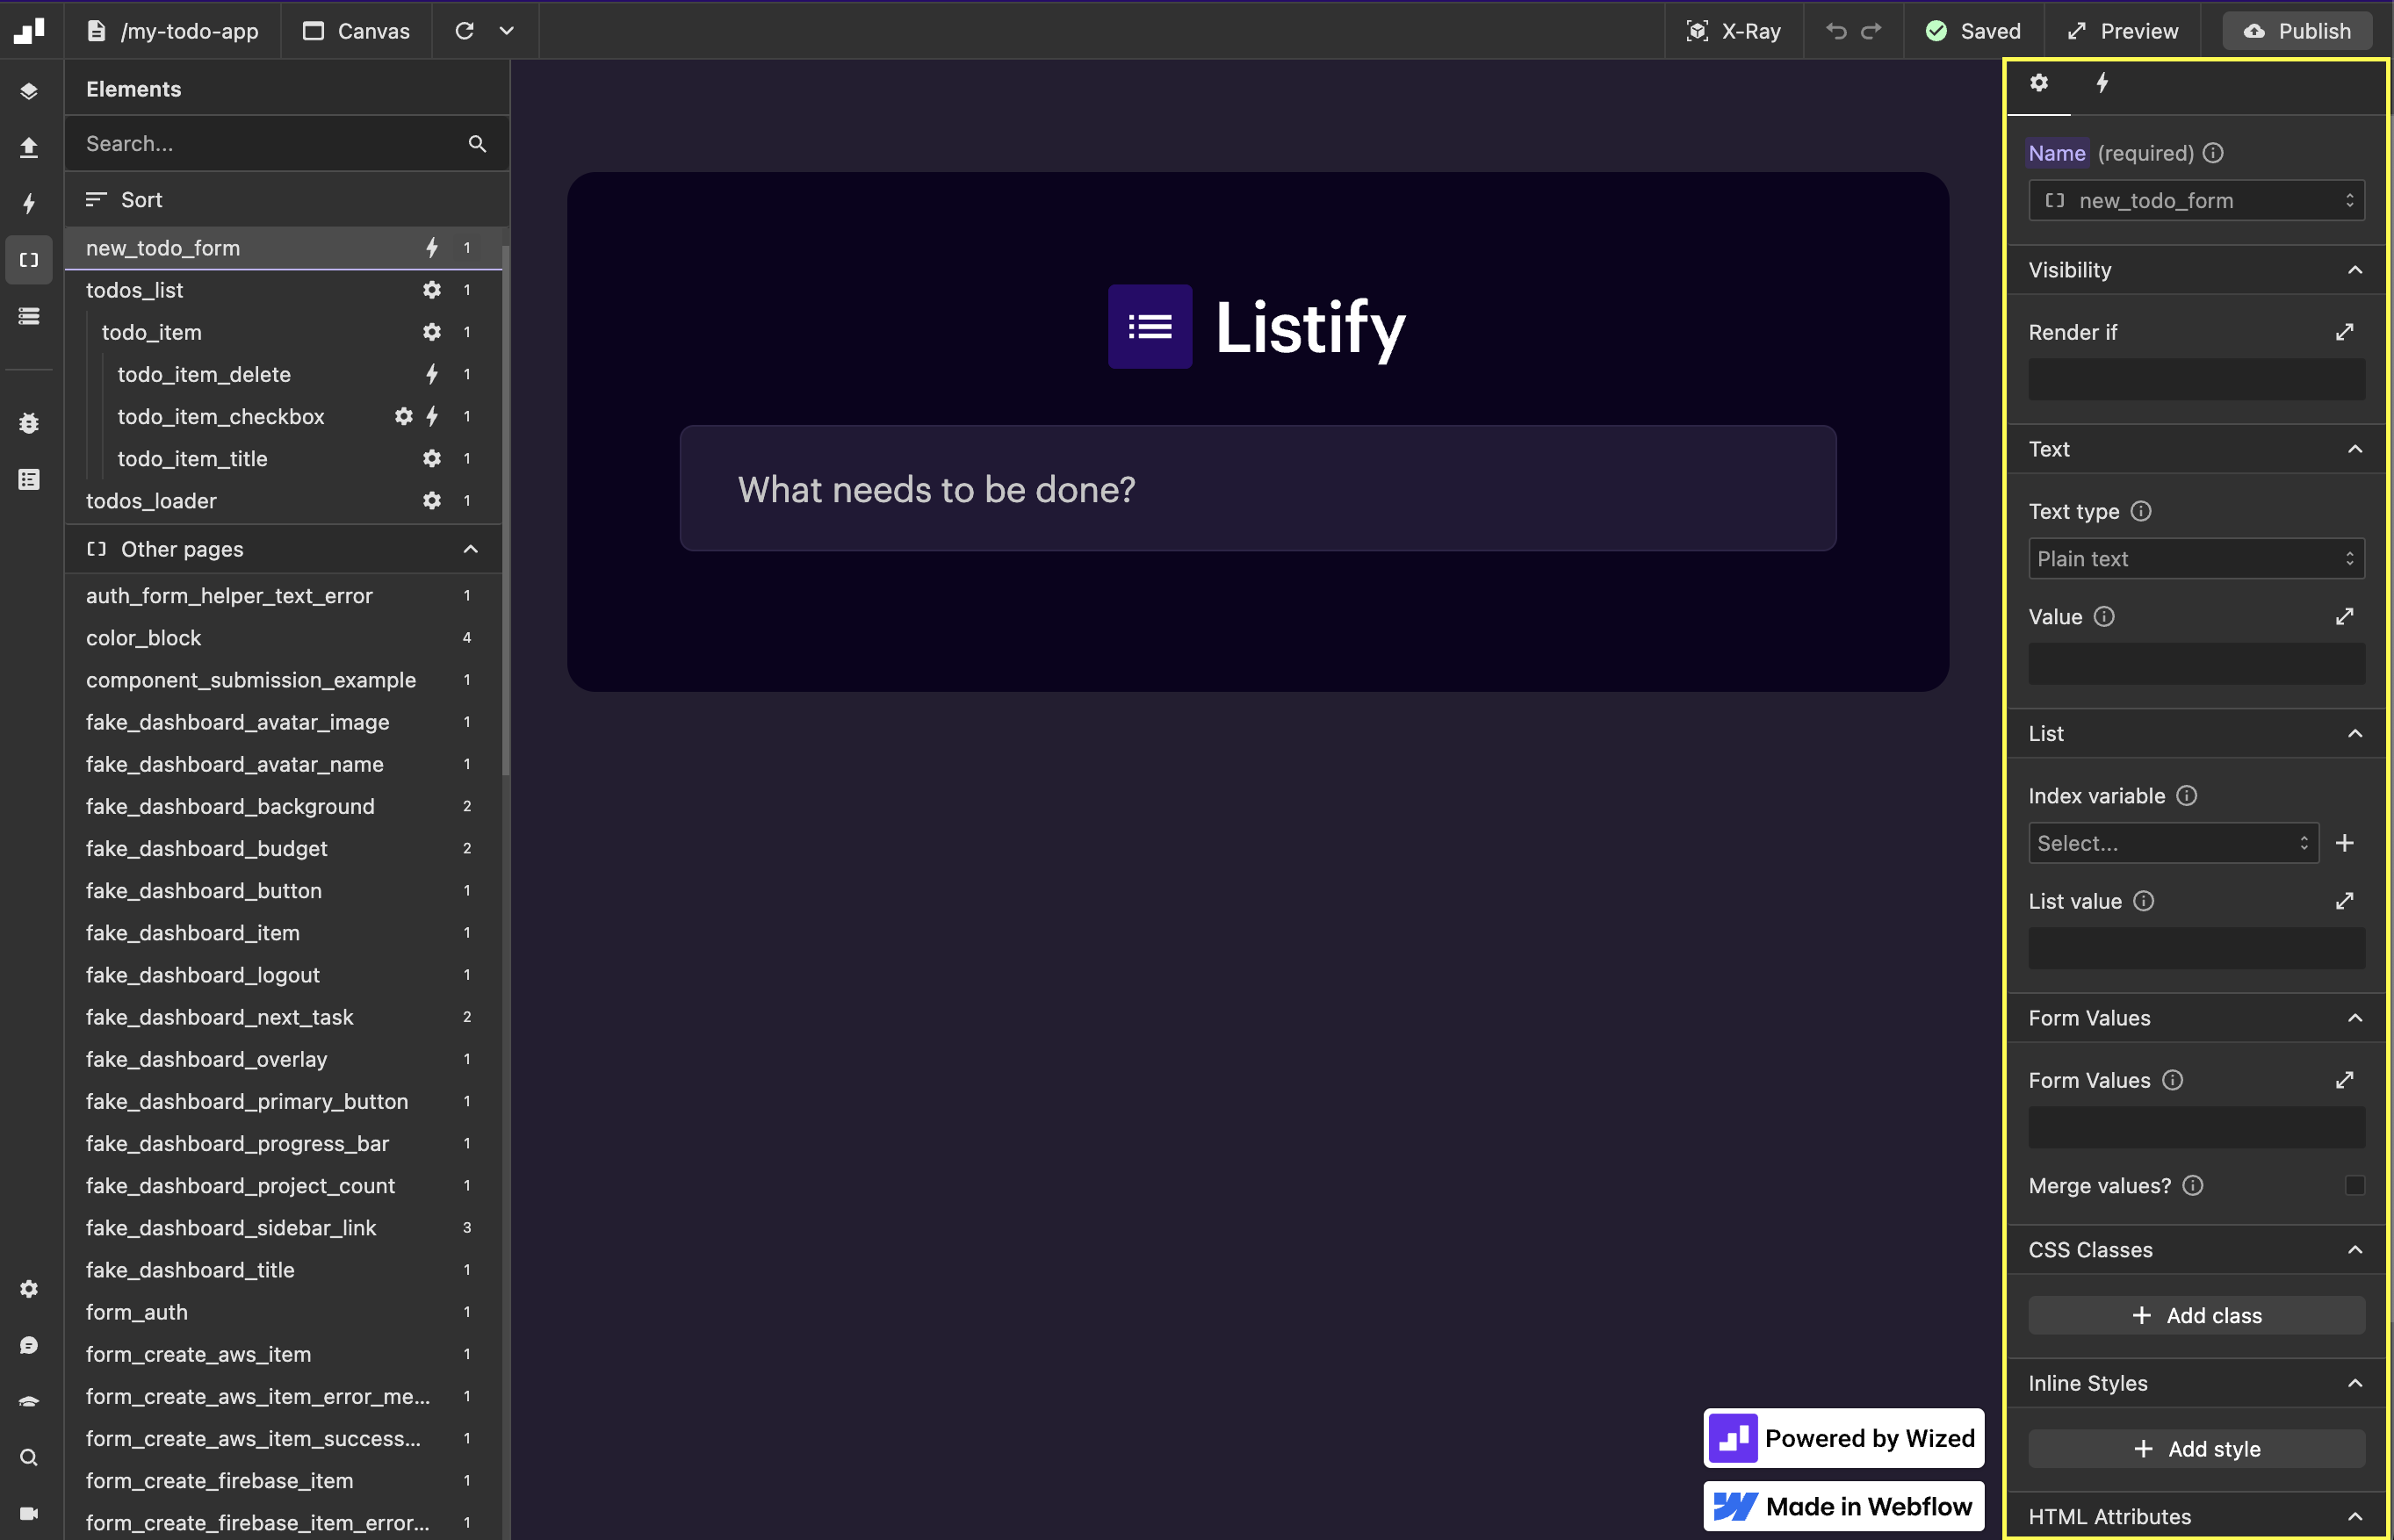
"Settings" tab
In this tab, you will find all the available settings for the selected item. You can:
- Create new configurations: Choose the desired configuration you want to add.
- Modify existing settings: Click an existing setting to edit its name, condition, or value in the Function Editor.
- Delete settings: Click the delete icon next to a setting to remove it.
![]()
"Events" tab
In this tab, you can manage the events associated with the selected element.
- Create new events: Click the "Add Event" button and choose the desired event from the drop-down list.
- Modify existing events: Click on an existing event to edit its settings or add/remove associated actions.
- Delete events: Click the delete icon next to an event to remove it.

Note
For detailed information about the available settings and events and how to configure them, see the elements section.