Setting up your first project
Getting started
1. Create your account on Wized
- Go to Wized and create a free account.
2. Create your first project
- Inside the Wized dashboard, click on the
New Projectbutton.
3. Setting up Wized with Webflow
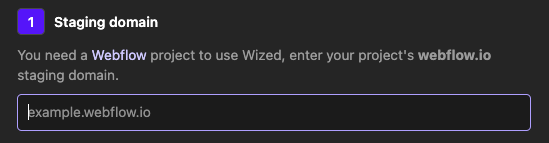
Staging URL
Click to expand
Paste the URL of your Webflow staging domain (example.webflow.io). More info here
Project name
Click to expand
- Choose a unique and descriptive name for your project.
Wized script
Click to expand
Copy the script provided by Wized and paste it into the
<head>section of your Webflow project.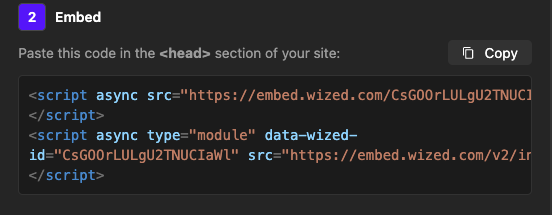
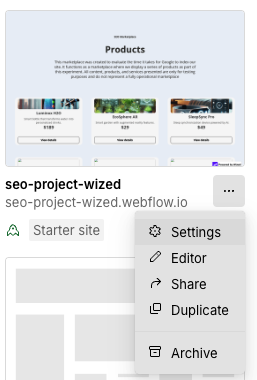
In Webflow, go to the Website Settings panel.
Look for the
Custom Codesection.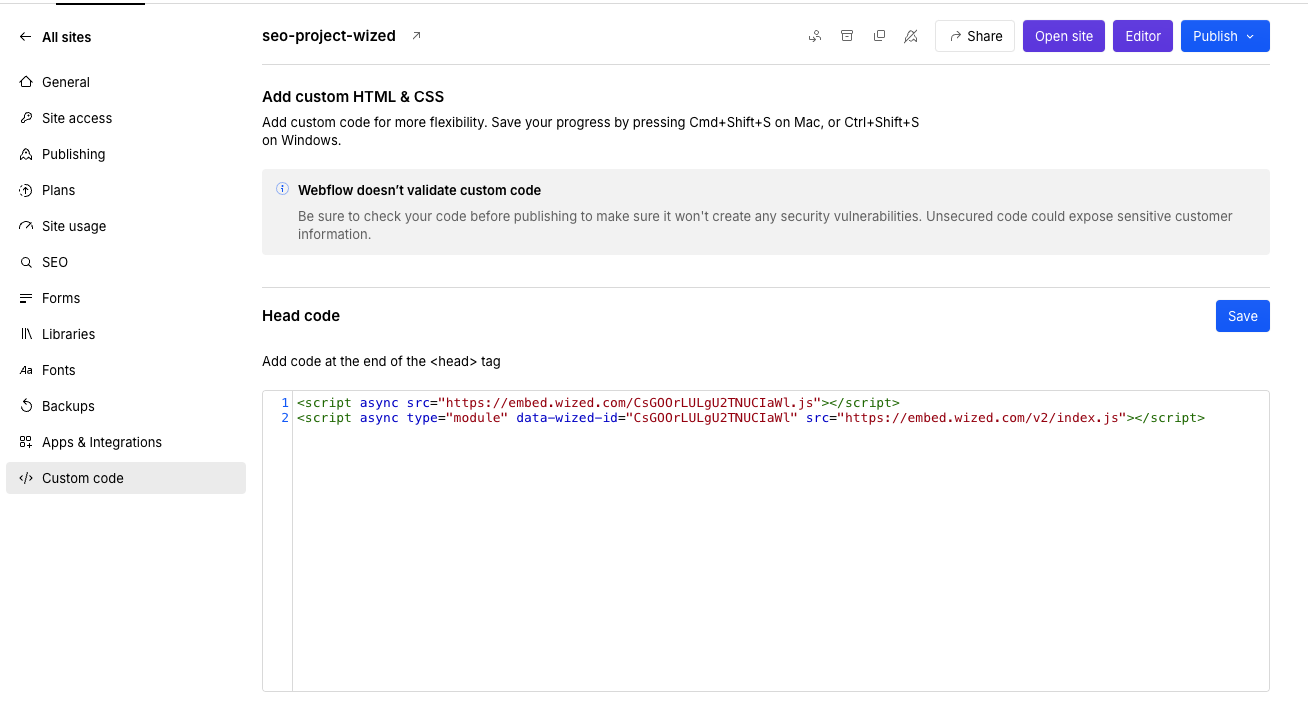
Paste the Wized script into the
<head>section.Save changes and publish your site.
Click the
Create projectbutton to finalize.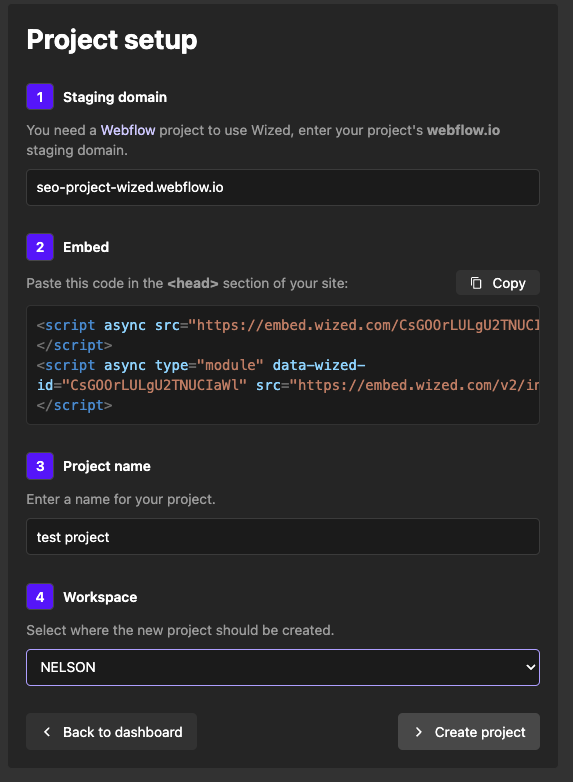
4. Managing your project in Wized configurator
- View a canvas of your website inside the Wized configurator.
- This interactive version allows you to experiment and add features in real-time.
5. Adding the Wized attribute
- Add the Wized attribute to specific elements in Webflow.
- Only elements with this attribute can be used for functionalities, actions, or events.