Wized attribute
The Wized attribute is essential for setting up elements on your Webflow website within the Wized configurator. By adding this attribute to any element, the Wized configurator can identify and manage the elements you want to customize, allowing you to add specific settings and behaviors.
Adding the Wized attribute
Step by step guide
Select the element
- Identify in
Webflowthe element to which you want to add the Wized Attribute.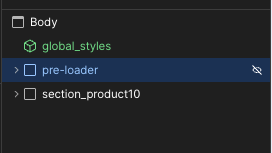
- Identify in
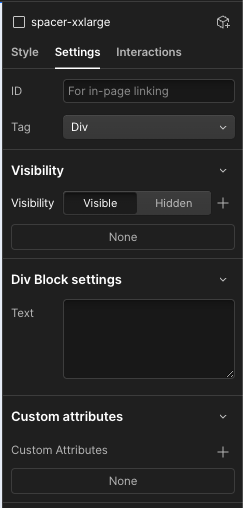
Go to the element settings tab
- Navigate to the Settings tab for the selected element.
- Navigate to the Settings tab for the selected element.
Custom attributes section
- Locate the Custom Attributes section.
- Locate the Custom Attributes section.
Add a new attribute
- Use one of the supported keys
wized,wized-cloak, orwized-loader.
- Use one of the supported keys
Types of Wized attributes
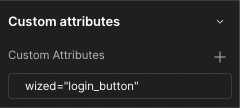
Wized attribute
- The fundamental attribute for making an element interactive.
- Enables Wized configurator to recognize and manage the element dynamically.
Example:
Note
Assign a unique value as the element name. This value is crucial within Wized for identifying the specific element and adding the appropriate settings.
Wized cloak attribute
- Prevents elements from flashing or displaying unstyled content during initial page load.
Watch the implementation guide
Code Snippet:
html
<style>
[wized-cloak] {
display: none;
}
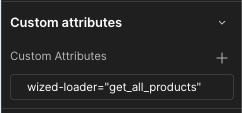
</style>Wized loader attribute
- Used for elements functioning as page load loader.
- Ensures visual feedback when processing a request.
Code snippet:
html
<style>
  [wized-loader] {
    display: flex;
  }
</style>
Example:
Note
Use this attribute only for page loaders. For other loaders (e.g., after user actions), use a visibility setting instead.