Intro to Workflows
Workflows are a set of actions and conditionals that can be triggered by element or page events.
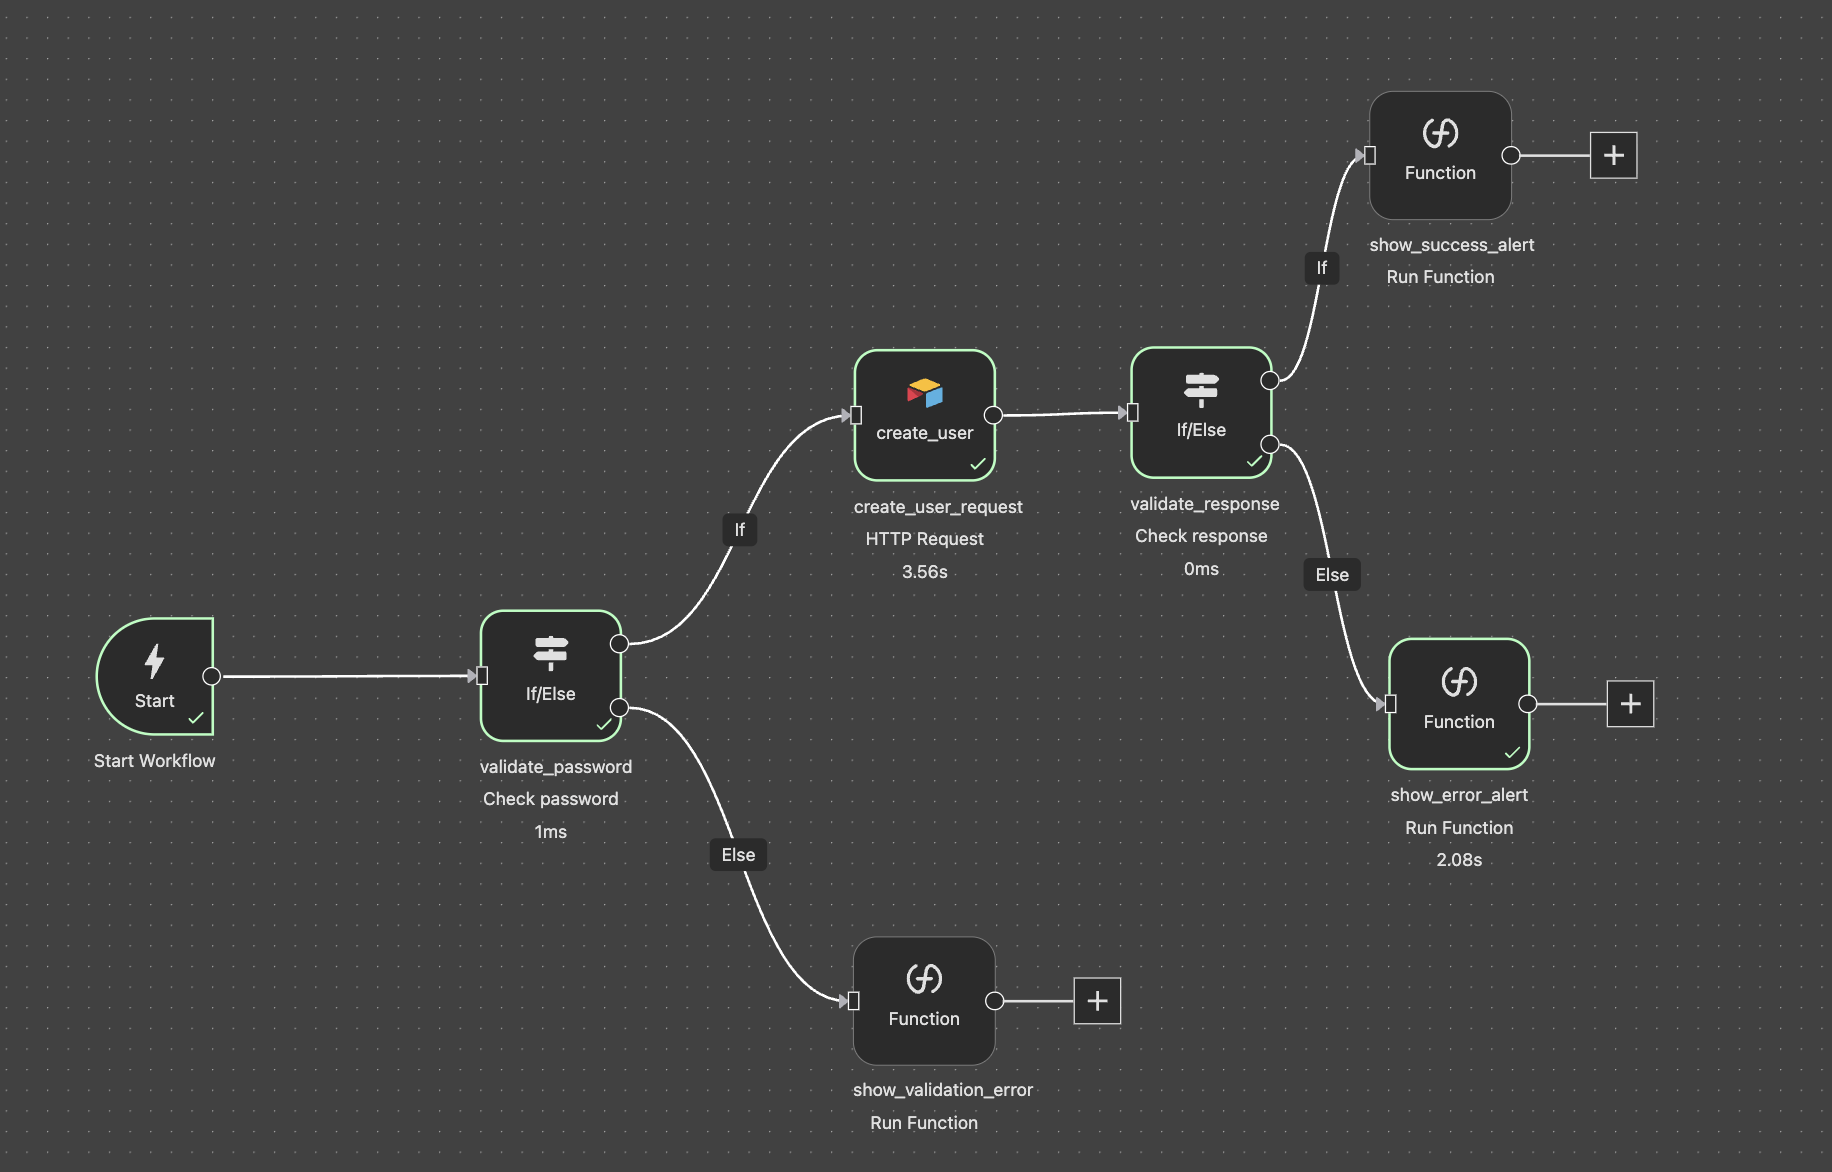
They are reusable and designed to optimize operations by grouping actions, handling requests, applying conditional logic, and efficiently managing tasks.
Workflows can also receive props, allowing you to pass dynamic data into them for greater flexibility and customization.
Check Out the Demo
Watch the video below to see Wized Workflows in action and learn how to create and manage workflows effectively.