WordPress Requests
What is a WordPress Request?
A WordPress request is a way to integrate your application with WordPress using the WordPress REST API.
You can retrieve data, create new posts, update existing ones, or delete content with WordPress as your backend.
WordPress requests support custom post types and ACF (Advanced Custom Fields) out of the box. To use ACF fields, you need to have the ACF plugin installed on your WordPress site.
You can use WordPress to just fetch data without any authentication (for public content like blog posts), or you can use the authentication system built by Wized so users can create accounts, sign in, and read/write data based on permissions set up in the Wized configurator.
To create WordPress requests you will need to first create a WordPress Wized App.
How to Create a WordPress App
1. Go to My Apps
Begin by going to the 'My Apps' panel in Wized.
Click the
+button at the top of the panel.Add a name for your app for later reference, i.e.
WordPress App.Pick the
WordPressoption.Enter your WordPress Site URL (e.g.
https://mysite.com).
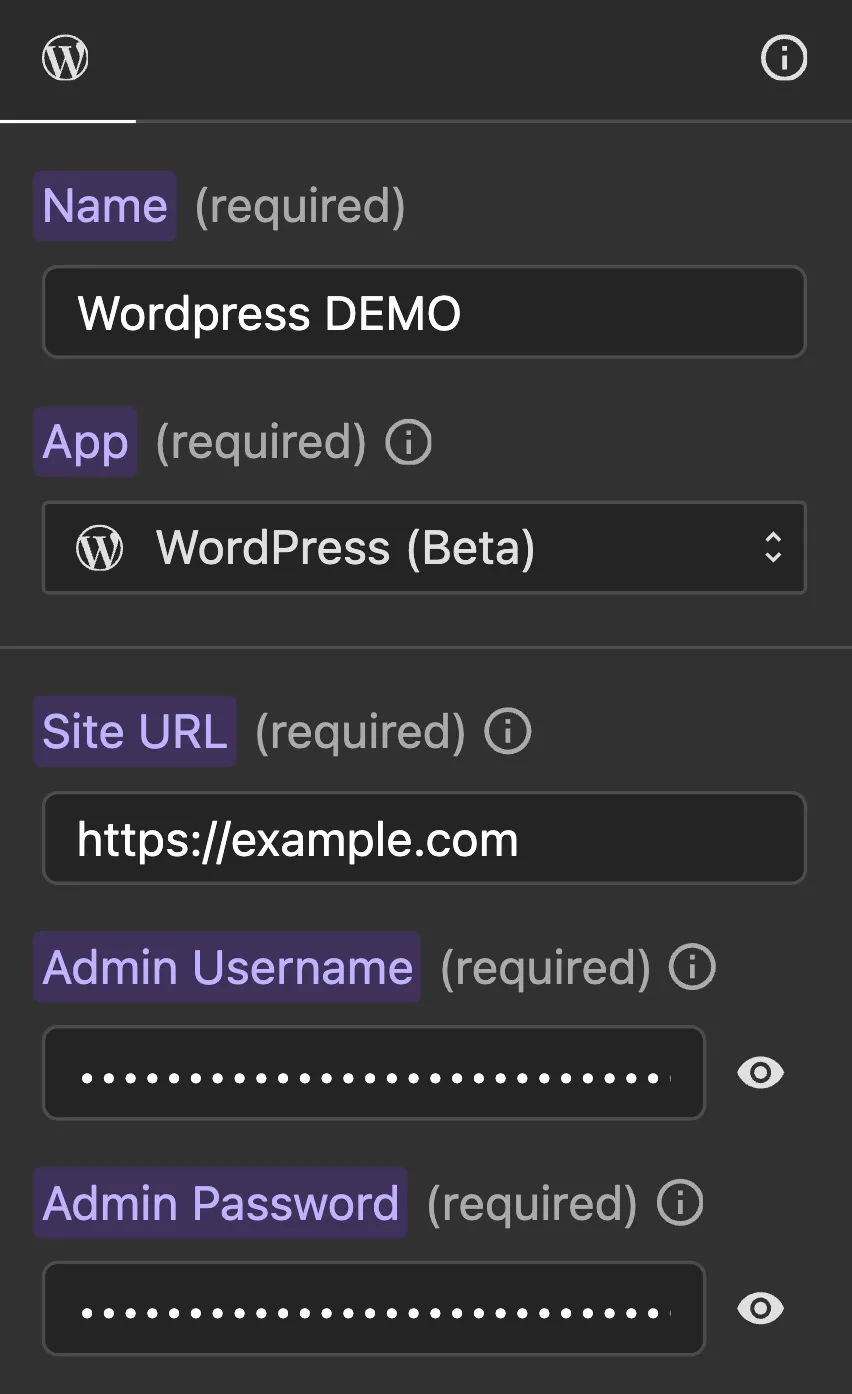
2. Add Admin Credentials
To allow Wized to communicate with your WordPress site, provide the following as secrets:
Admin Username or Email — the username or email of a WordPress admin account.
Admin Password — the password for that admin account.
These credentials are securely stored and only used server-side when calling WordPress API endpoints. End users authenticate with their own username/email and password through Wized's built-in JWT authentication layer.
TIP
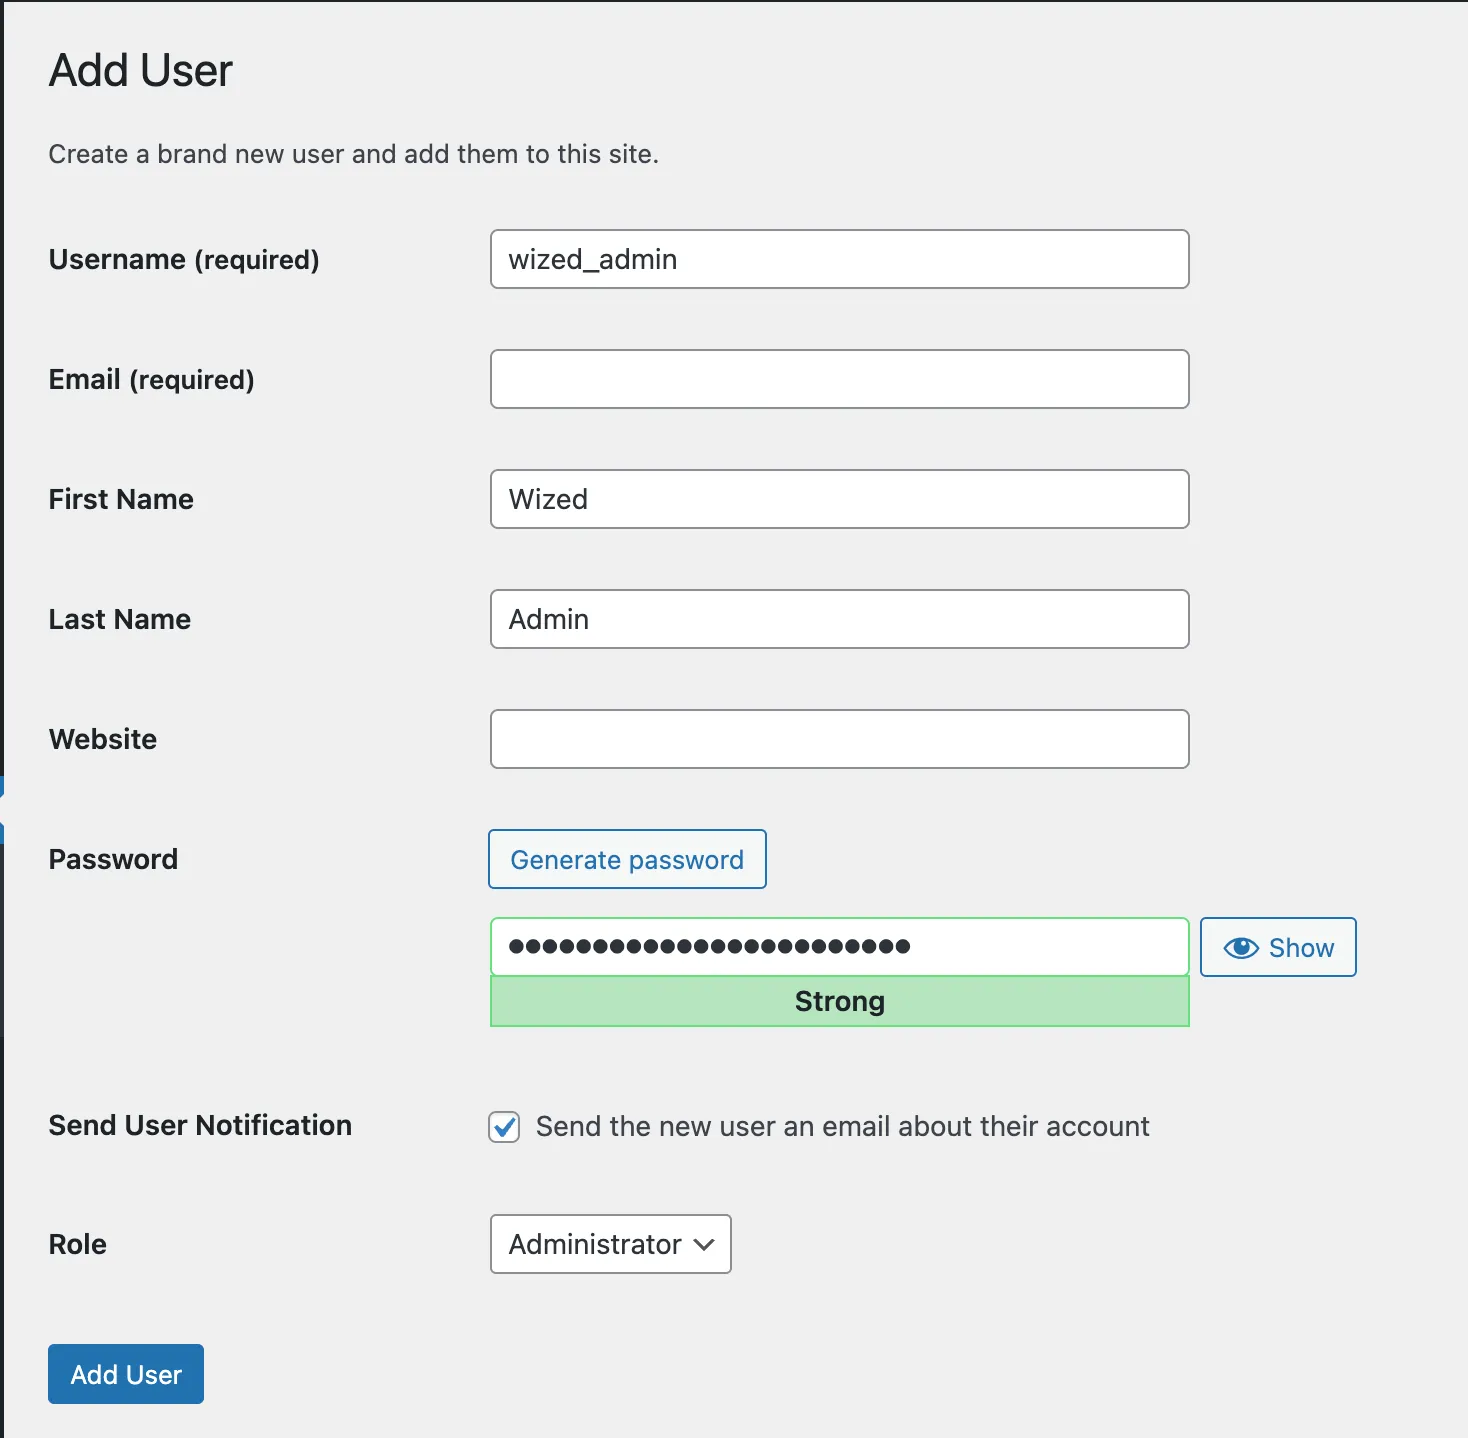
We recommend creating a separate WordPress admin account dedicated to Wized, rather than using your personal admin credentials.
3. Install Wized Plugin
After setting up your admin credentials, you can install the Wized WordPress Plugin on your WordPress site.
The plugin enables the following features:
- Email Verification — required for the Send email verification and Verify email methods.
- Advanced filtering and sorting — required for complex ACF-based filtering and sorting in Get posts requests.
NOTE
If you don't plan to use email verification or advanced ACF filtering/sorting, you can skip this step. However, installing the plugin is recommended as it unlocks more features now and in the future.
The plugin is designed with security in mind, it exposes additional functionality exclusively to WordPress administrators, so regular users cannot access or abuse these capabilities.
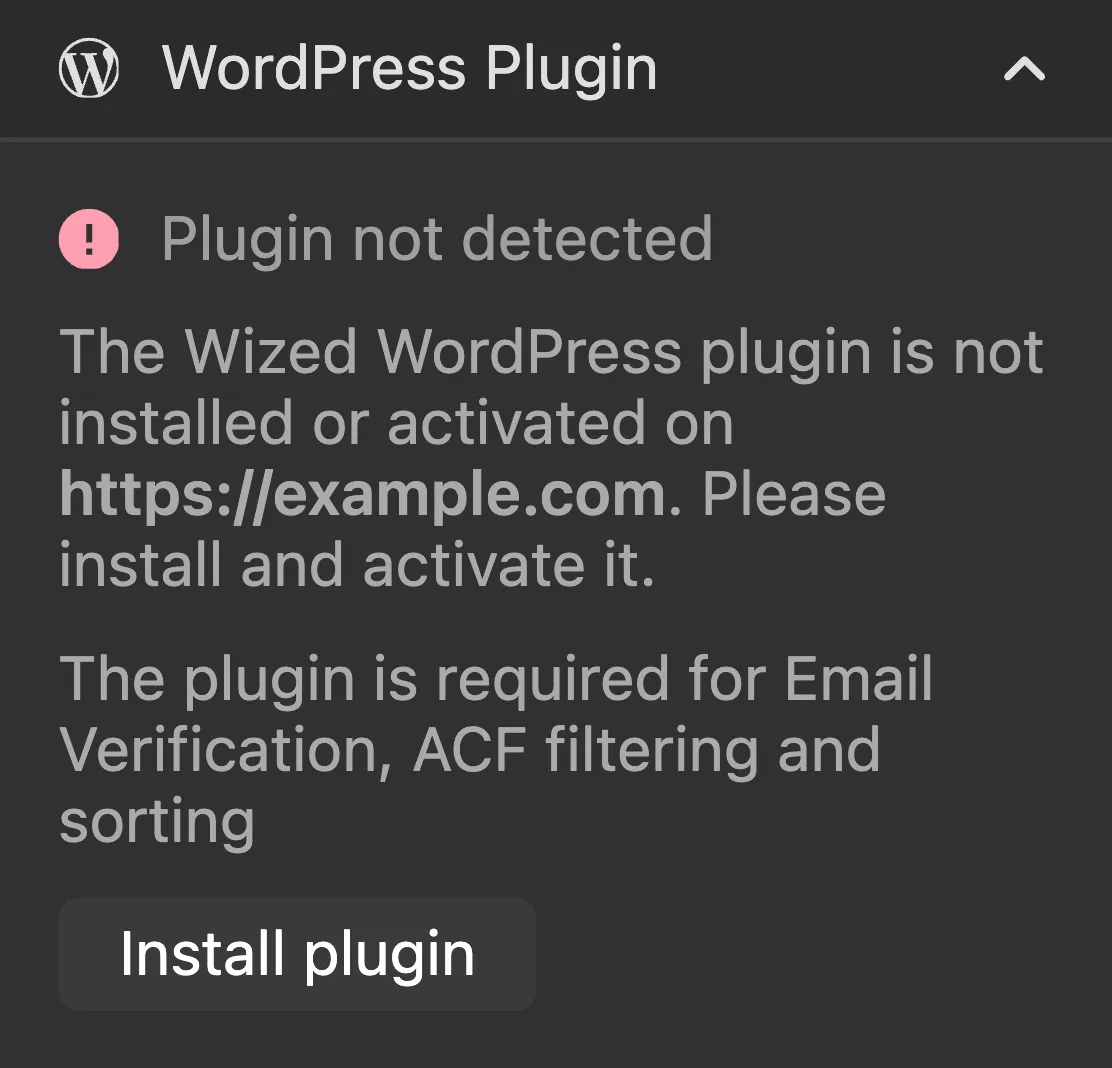
You can install the plugin directly from the WordPress Plugin panel in the Wized configurator. Once installed and activated, the panel will show a green Active status:

If the plugin is not yet installed or activated on your site, you will see a Plugin not detected warning:
4. WordPress ACF Setup
When setting up Advanced Custom Fields (ACF) for your post type, configure the following settings:
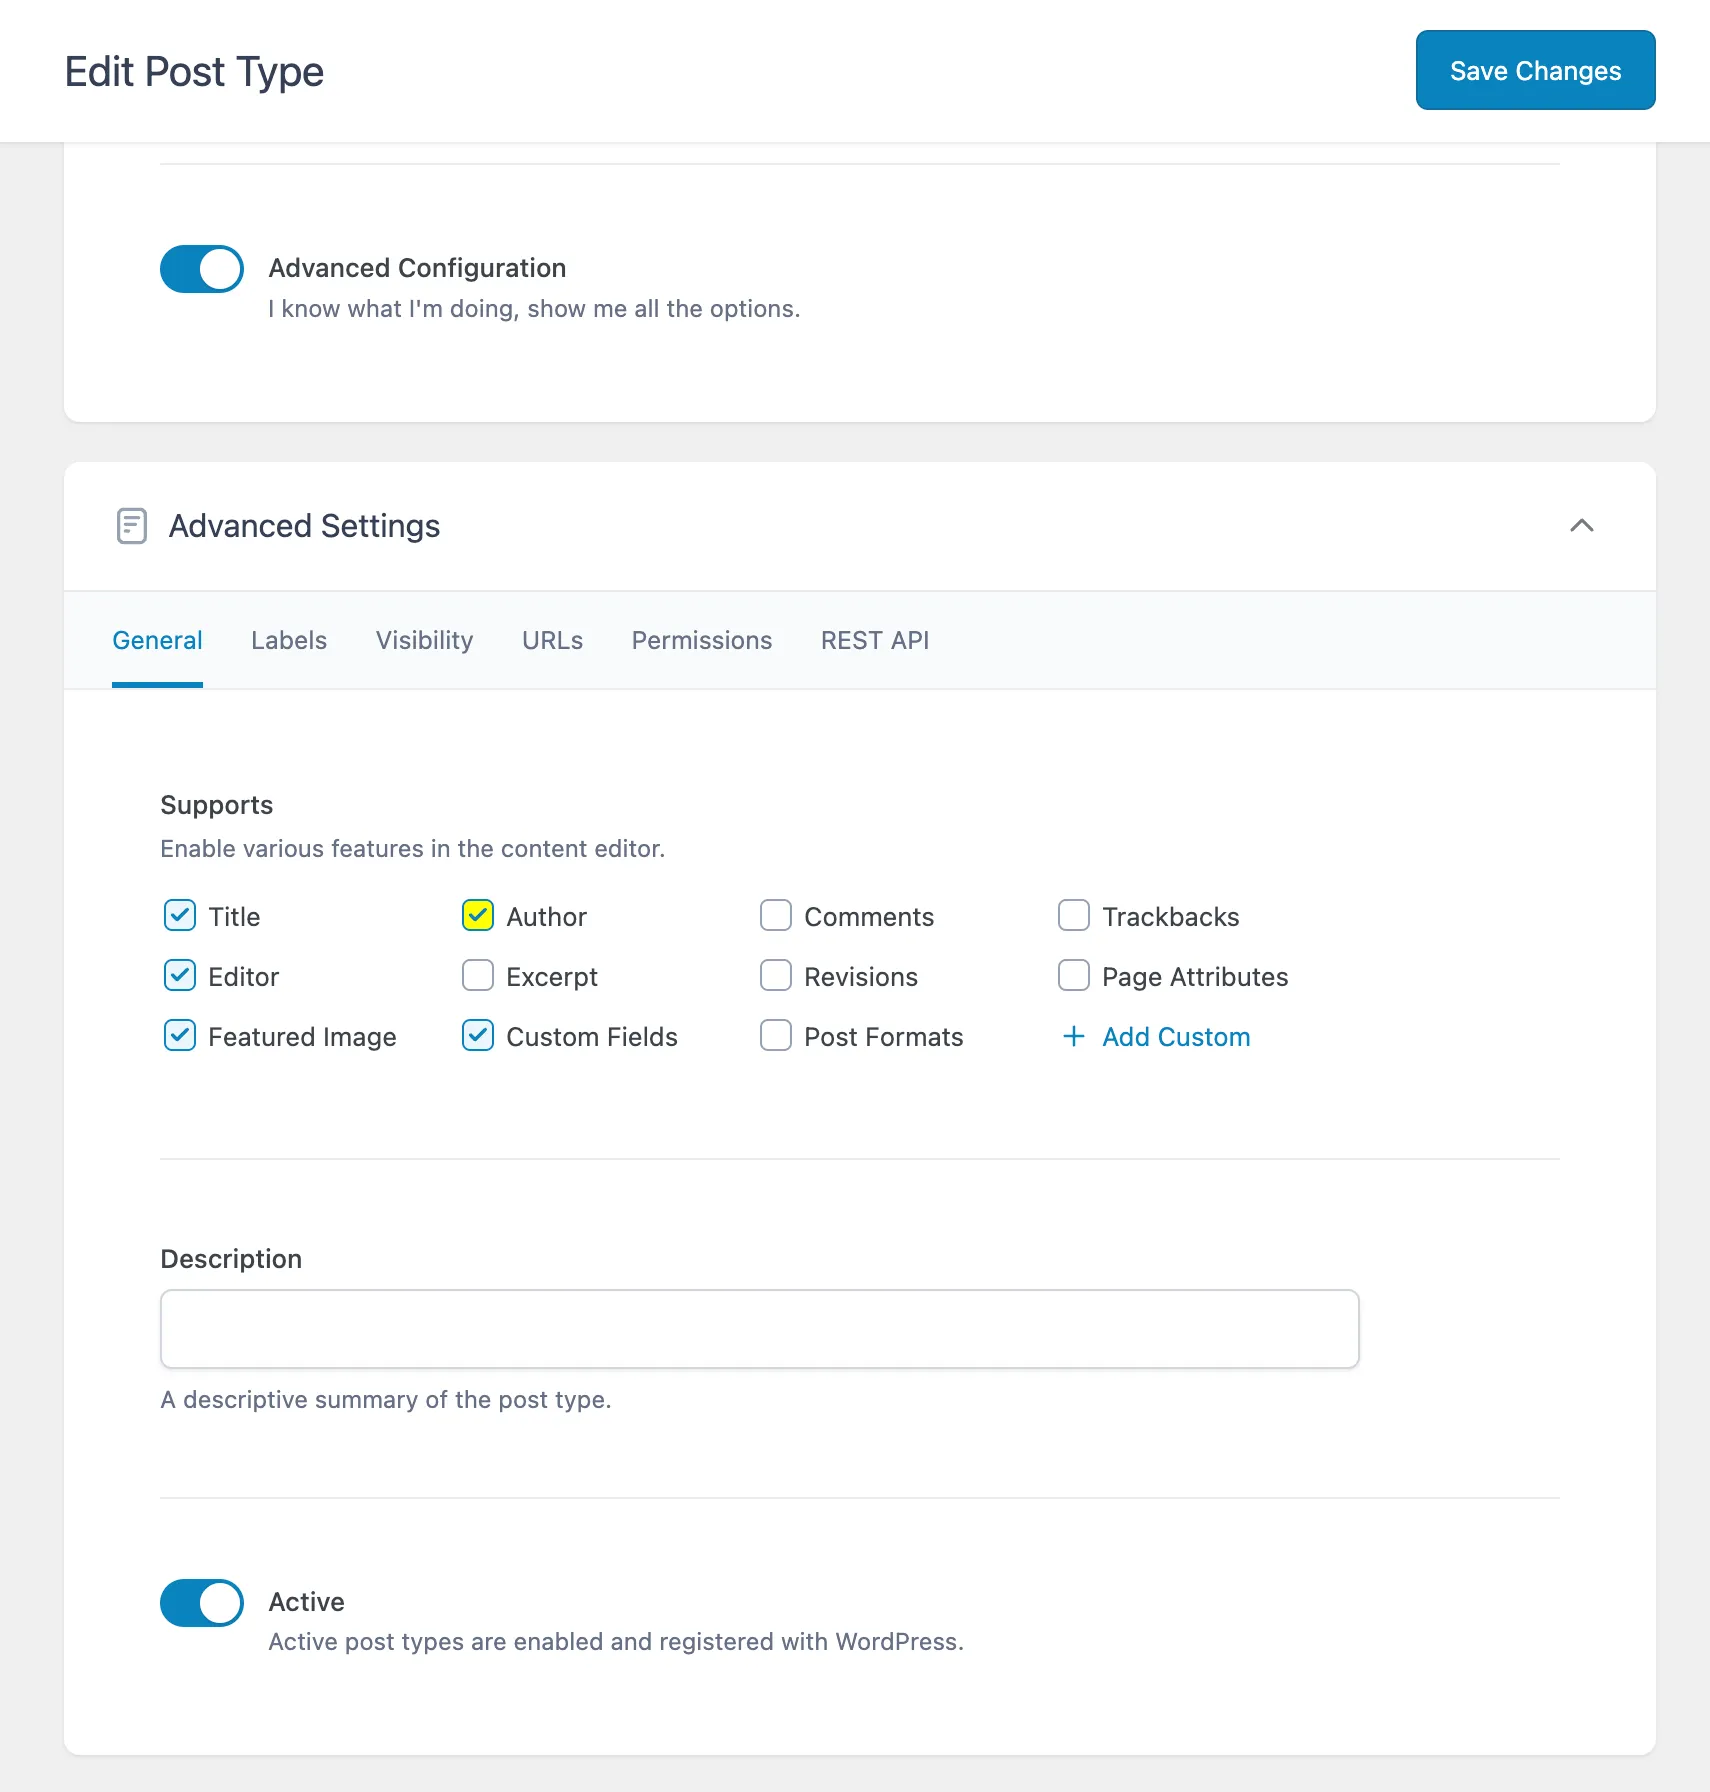
General Settings
Navigate to Advanced Settings and ensure the Author checkbox is enabled in the General tab. This is required to manage posts with authentication.
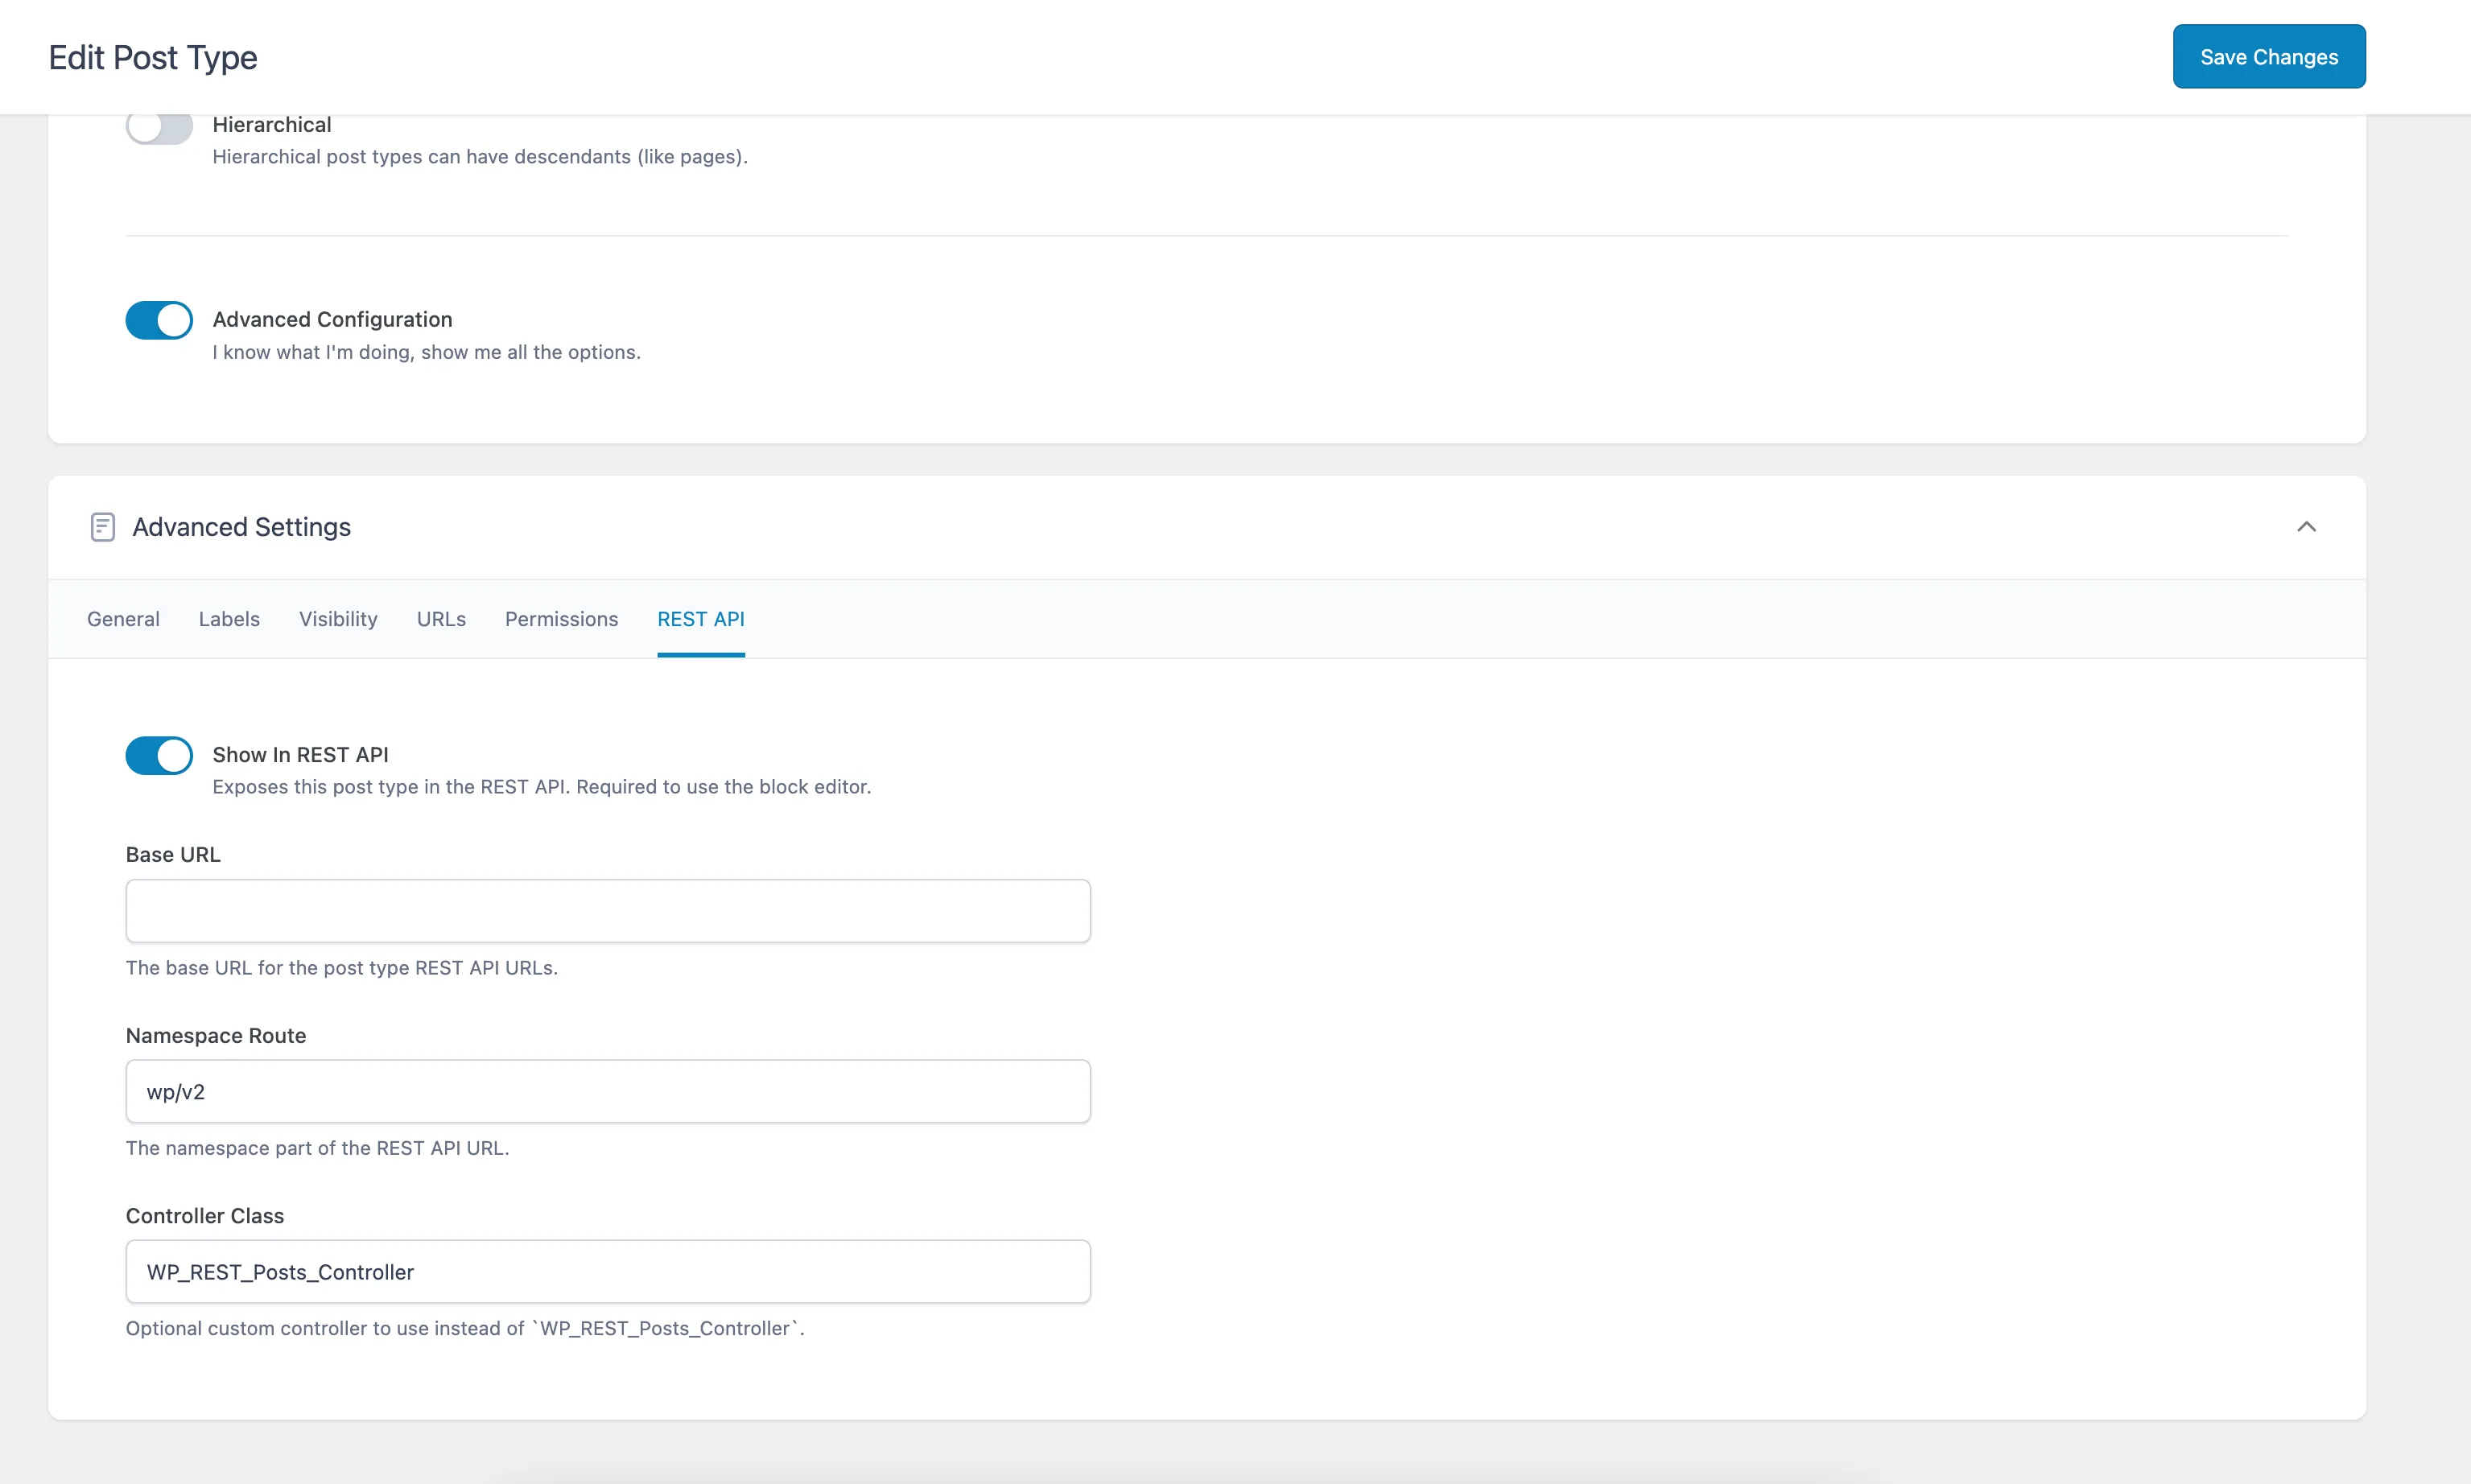
REST API Settings
In the Rest API tab, enable Show In Rest API so ACF fields are accessible through the WordPress REST API.
5. Configure your request
Create a new request, and add basic info
- Name your request, i.e.
get_blog_posts - Add your request to a folder (optional)
- Select your WordPress App from the dropdown
Select method
You will need to select one of the methods for a specific functionality:
Authentication methods:
- Sign up: Create a new user with email, username, and password
- Sign in: Sign in a user with username and password
- Get user: Get the currently authenticated user
- Request password reset: Send a password reset email
- Password reset: Reset password with a new password
- Send email verification: Send a verification email to confirm a user's email address (requires Wized WordPress plugin)
- Verify email: Verify a user's email using the token from the verification link (requires Wized WordPress plugin)
Posts methods:
The WordPress integration currently supports:
- Post - Standard WordPress posts without Advanced Custom Fields
- Post with ACF - Posts with Advanced Custom Fields (requires ACF plugin to be installed)
When using "Post with ACF", the ACF plugin must be installed and activated. This enables you to treat posts as a table with custom fields defined in ACF, allowing you to create, update, and filter posts based on any custom fields you've configured. All post methods include a Post Type dropdown that lets you select which type of content to work with (e.g. Post, Post with ACF, or any custom post type). When a custom post type is selected, ACF (Advanced Custom Fields) become available for create and update operations, and ACF filtering is available for list operations.
- Get posts: Get a list of posts with filtering, sorting, and pagination
- Get post: Get a single post by ID
- Create post: Create a new post (with optional ACF fields for custom post types)
- Update post: Update an existing post (with optional ACF fields for custom post types)
- Delete post: Delete a post
4. Permissions
For post methods, you can configure who can access the data by setting Permissions and optionally Roles.
Permission Levels
- Allow Any: Any user (authenticated or not) can perform this operation. When selected, the Roles field is not shown.
- Authenticated: Only authenticated users can perform this operation. When selected, you can additionally specify which WordPress roles are allowed to access the data.
- Owner: Only the owner (creator) of the content can perform this operation. When selected, the Roles field is not shown.
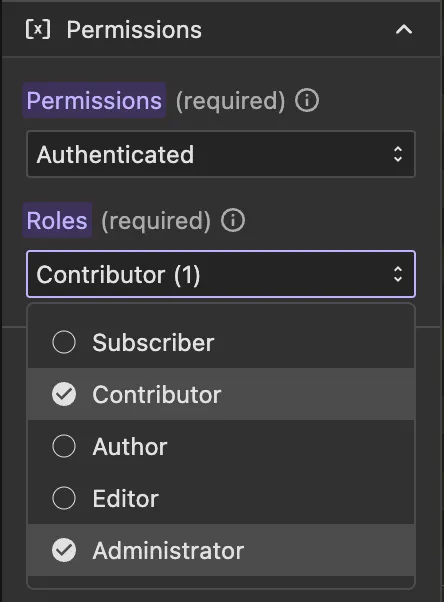
Roles
When Authenticated is selected as the permission level, you can further restrict access by specifying which WordPress roles are allowed:
- Subscriber: Users with "Subscriber" role
- Contributor: Users with "Contributor" role
- Author: Users with "Author" role
- Editor: Users with "Editor" role
- Administrator: Users with "Administrator" role
NOTE
By default, each user created from Wized has the "Subscriber" role in WordPress, so Subscriber is selected by default when choosing roles.
Require Email Verification
When the permission level is set to Authenticated or Owner, you can enable the Require Email Verification checkbox to block users whose email address has not yet been verified from performing that action.
WARNING
This option requires the Wized WordPress plugin to be installed on your WordPress site.
To implement the email verification flow, use the Send email verification and Verify email methods.
Use Cases and Recommendations
Allow Any is ideal for:
- Waiting list forms
- Newsletter subscription forms
- Contact forms
- Public content that doesn't require authentication
- Any operation where you want to collect data from anonymous users
Owner is the default selection for:
- Get, Update, and Delete operations: Ensures users can only access and modify their own content
- Use this when you want to restrict data access to only the content creator
Authenticated with Roles is recommended for:
- Create operations: Control which user roles can create new content on WordPress
- Content that should only be visible to logged-in users with specific permissions
- Operations that require role-based access control